
My first tip is try not to shoot in harsh light. Hahaha. Plan your sessions during golden hour, align your timelines to have portraits during good light and prepare as much as you can to have good lighting for your photos.
BUT, I know bad or harsh lighting is inevitable, especially as wedding photographers. I typically have to shoot in harsh light during some part of the wedding day, first looks and bridal party almost always happen mid-day.
But let’s back up, what do I mean when I say harsh light? I’m talking about that super bright glowing star in the sky that shines straight down on you from 11am-2pm. It produces some harsh shadows and is not flattering to your skin. It also makes your subject squint, sweat, and generally be more uncomfortable than they already are.
BAD HARSH LIGHT
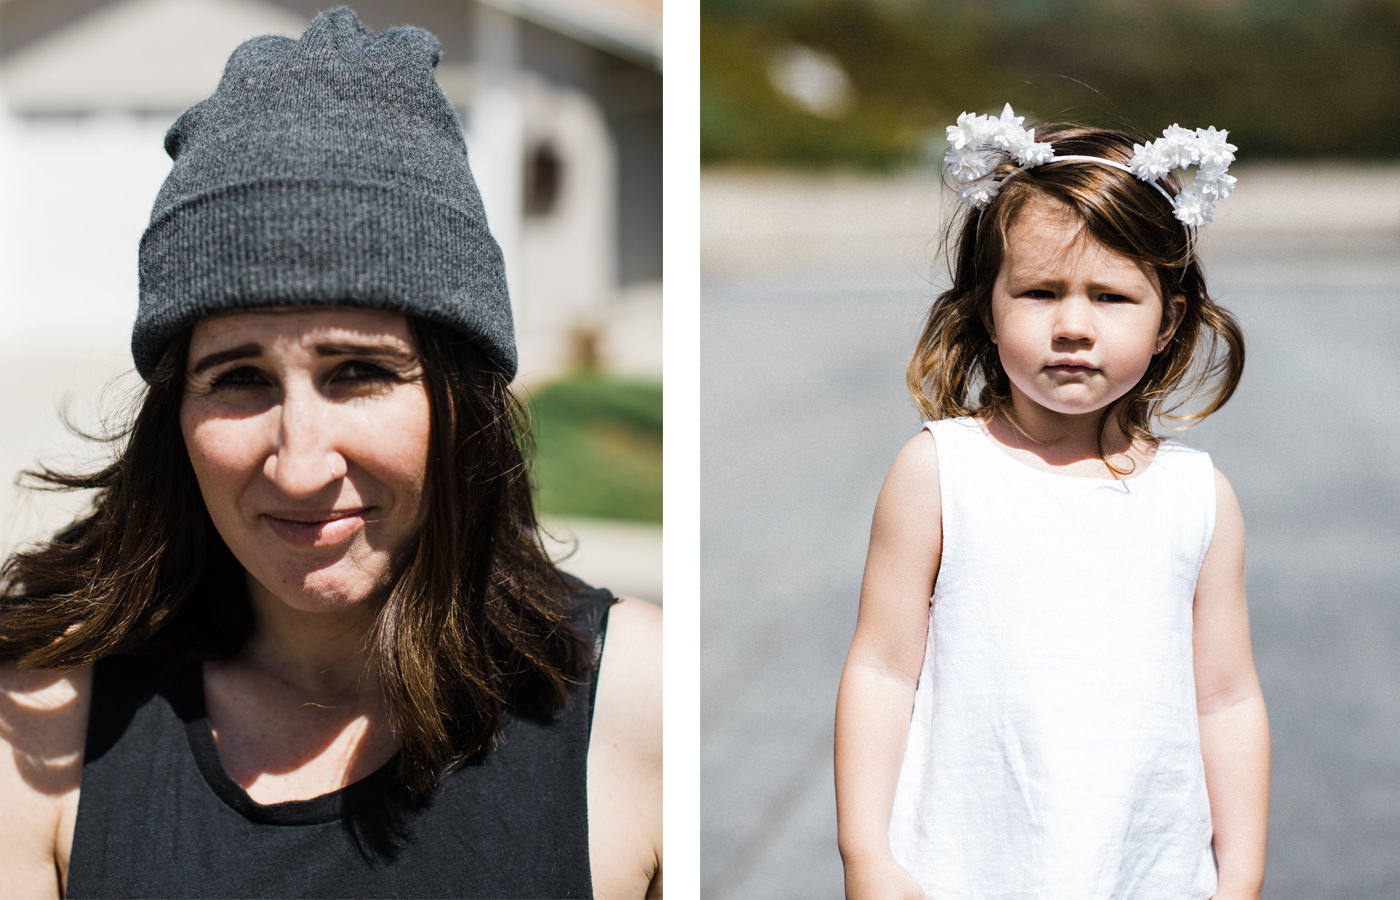
THIS IS BAD HARSH LIGHT. Huge thanks to my wife and daughter for being my bad examples of harsh light.
HARSH LIGHT, USED WELL
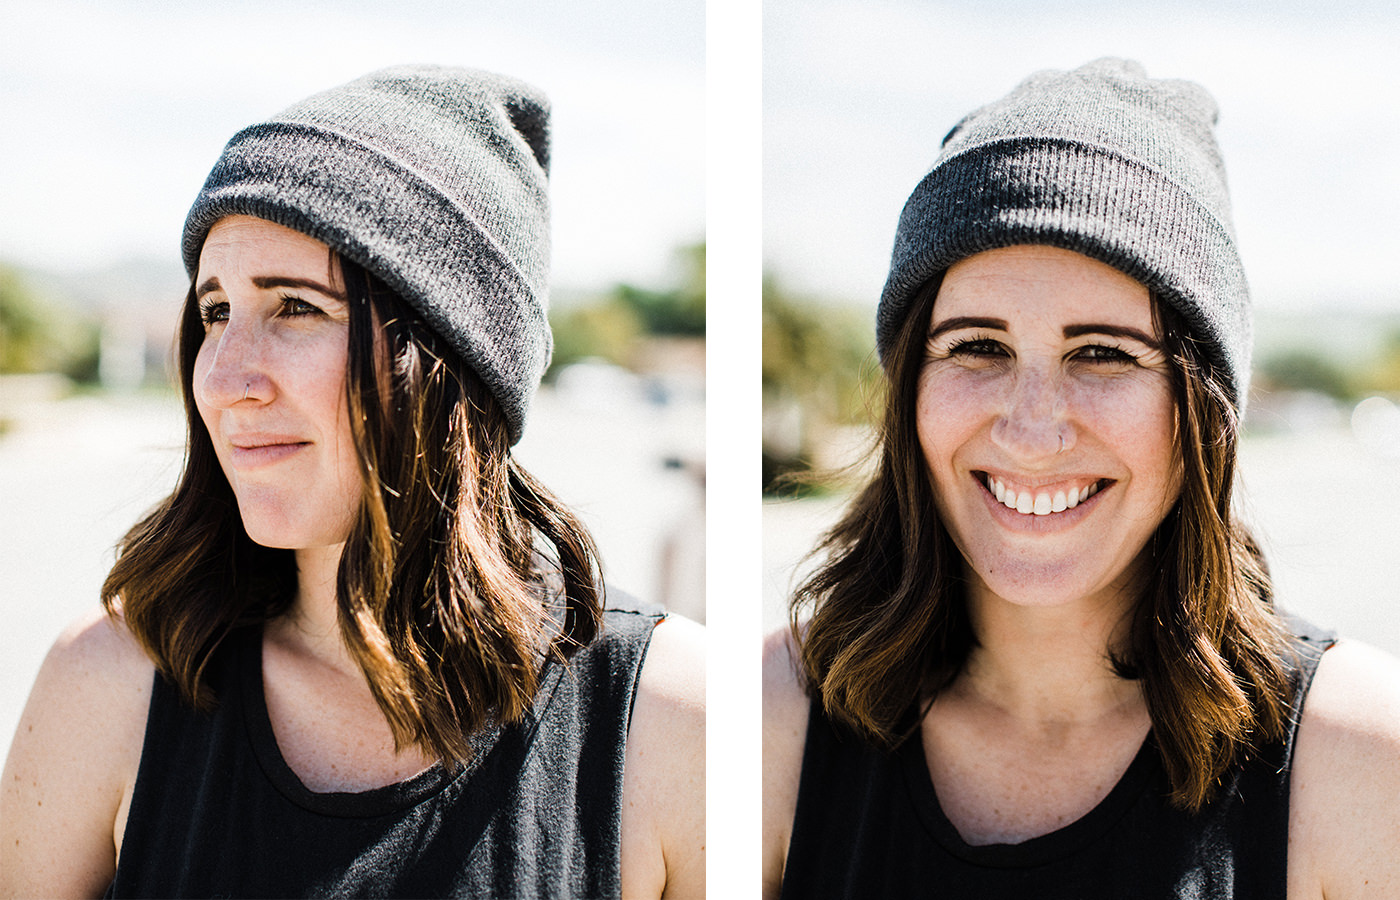
This is an example of good even light. Same camera, same lens, same time as the photos above and same settings just positioned away from the sun.
Here’s a tip from one of the best in the biz at shooting in harsh lighting, Eden Strader:
“My number one suggestion when shooting harsh light is to constantly watch the light on your subject’s facial features. When lighting hits inconsistently across their facial features, that's when you run into problems. Shooting slower, and making consistent lighting on their faces the priority, are the best things you can do when shooting any kind of harsh light!”
- Eden Strader
To learn more from Eden, check out here education here: https://edenstrader.com/education and for a freebie on how Eden edits skin in harsh light, sign up here: http://eepurl.com/dA-FBT.
Okay, now some easy tips to work in harsh light:
Put The Sun to the Subject’s Back
Put the sun at the subject’s back so you get nice even light across their face without the harsh shadows and squinty eyes.
This is my go-to move and it’s the easiest cause you can do it anywhere. Typically the sun is never perfectly overhead. Meaning your subject is casting some sort of shadow in one direction. Have them look down, find their shadow and aim their face towards it. This way the sun will be at their back and their face will have even light across it.
Find Shade
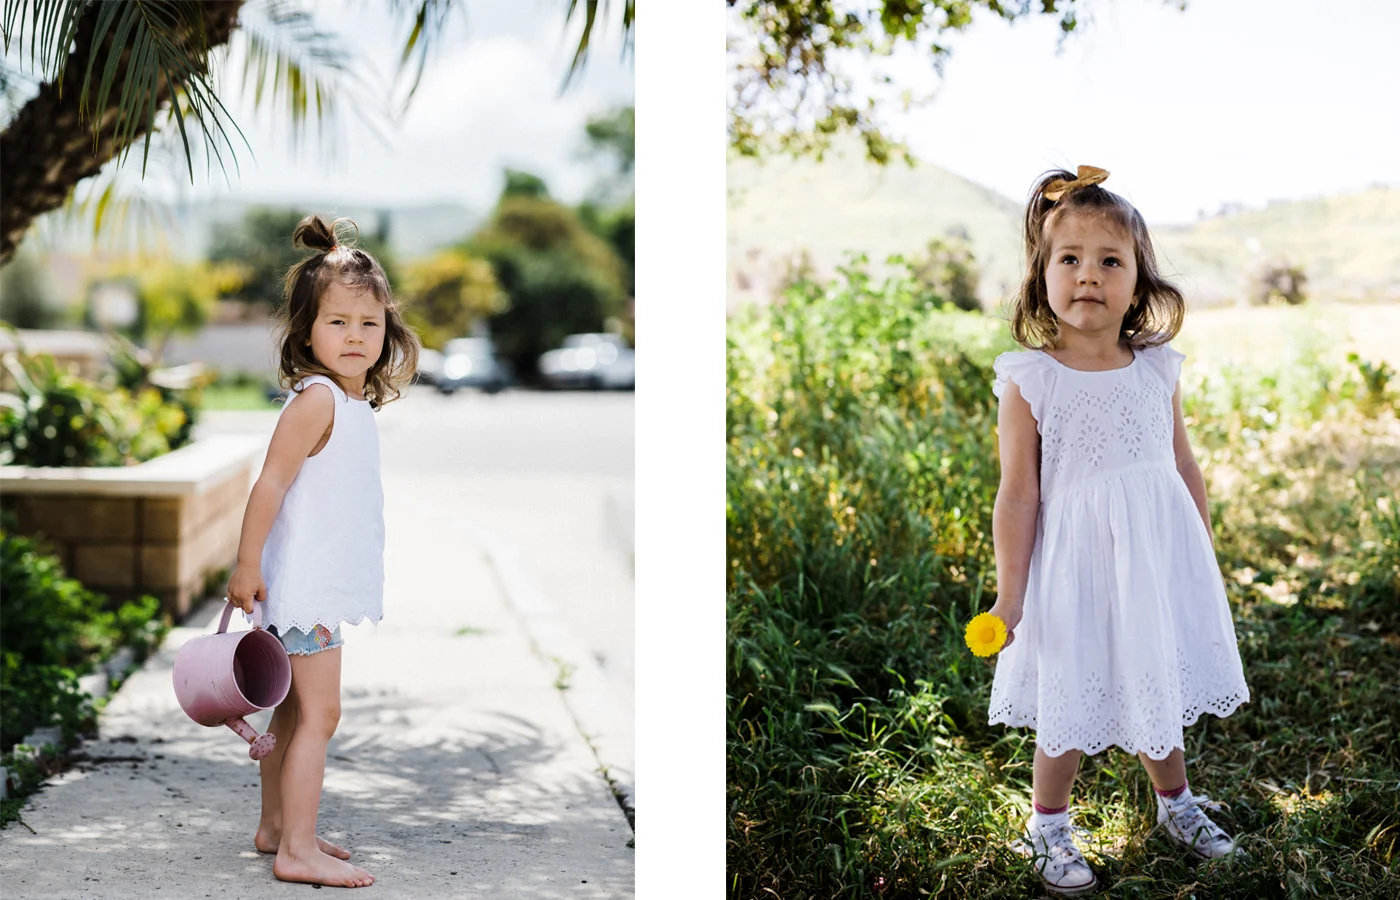
Find some shade for your subject to stand under.
This is another easy one. Find some nice shade somewhere. This will allow your subject to feel a lot more comfortable as it will be cooler without the hot sun beaming down on them. You can move the subject much more freely and enjoy that even light across their face.
Create Shade

Use a diffuser to create your own shade.
If you have a diffuser and an assistant or second shooter with you, they can hold a diffuser and soften the light on your subject. You can also use OCF, speedlights, and reflectors to overpower the shadows. I typically shoot alone, so these aren’t always an option for me. In this photo I’m using an awesome 5-in-1 reflector/diffuser from Neewer.
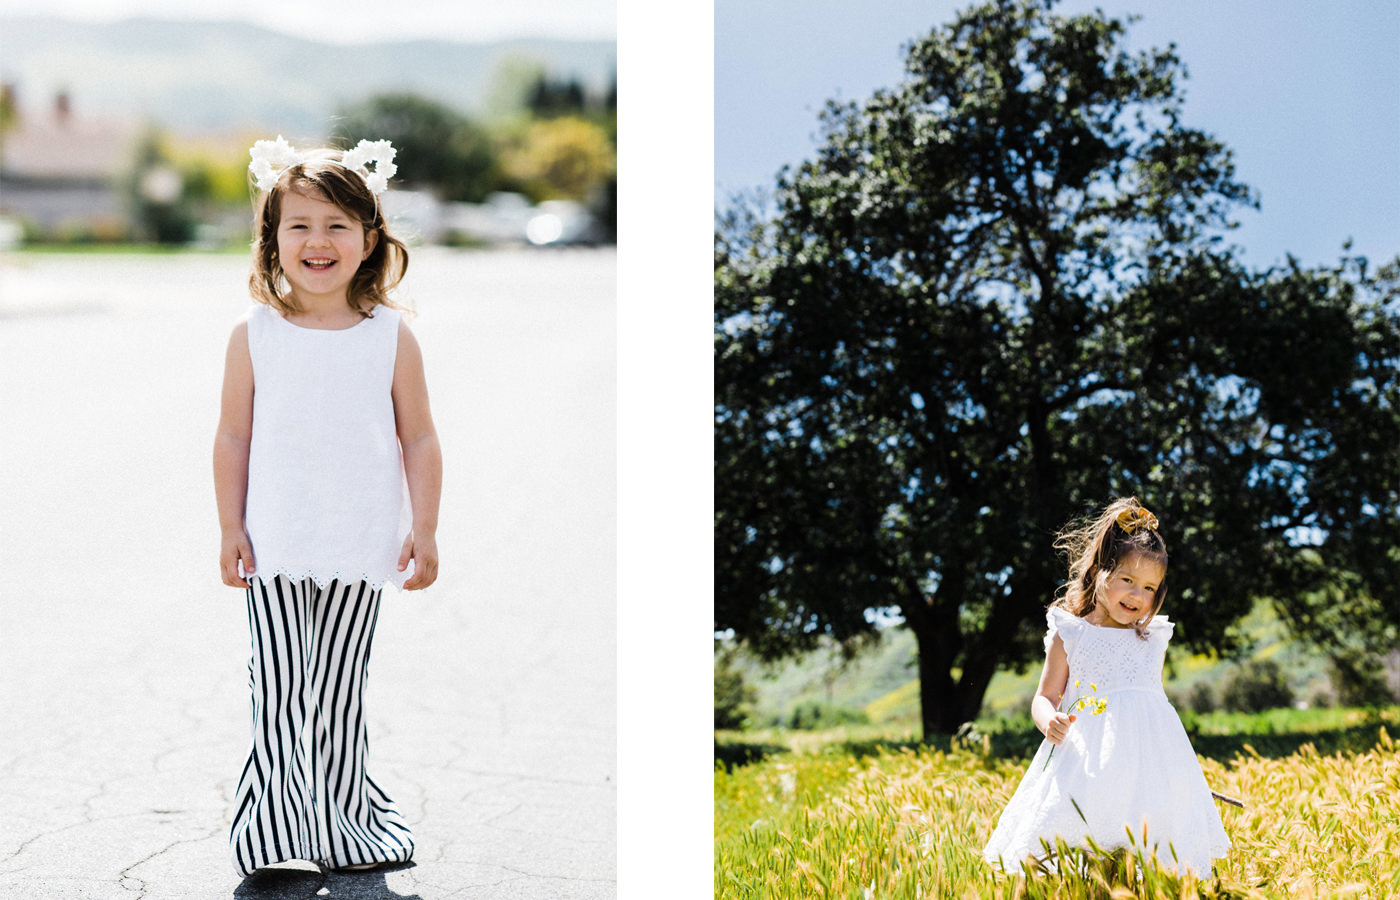
Here Are A Few Wedding Photos Shot in Harsh Light

Utilizing shade and backlit photos are my go-to moves to make harsh light look great.
Hopefully those tips help. If you have more tips that you love, please leave those in the comments below. Need more help? Feel free to shoot me a DM on Instagram or leave your comment below. Thanks!
The Latest Education Articles


A visual breakdown of lighting & composition to help you take better photos.